Table of Contents
ToggleAt First Call Restoration, we understand how overwhelming and stressful sewage issues can be for homeowners. Recently, we were called to a residence in Pleasant Valley where a toilet water flood had caused significant damage in the bathroom, basement, and garage. Our goal was to tackle the water damage restoration in Pleasant Valley, NY as quickly and efficiently as possible.
A Call from a Client After Toilet Water Flood
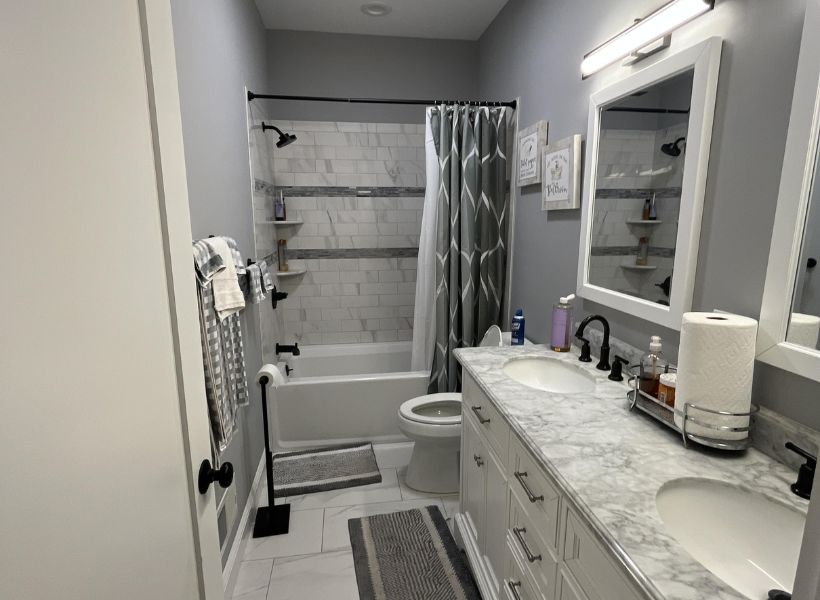
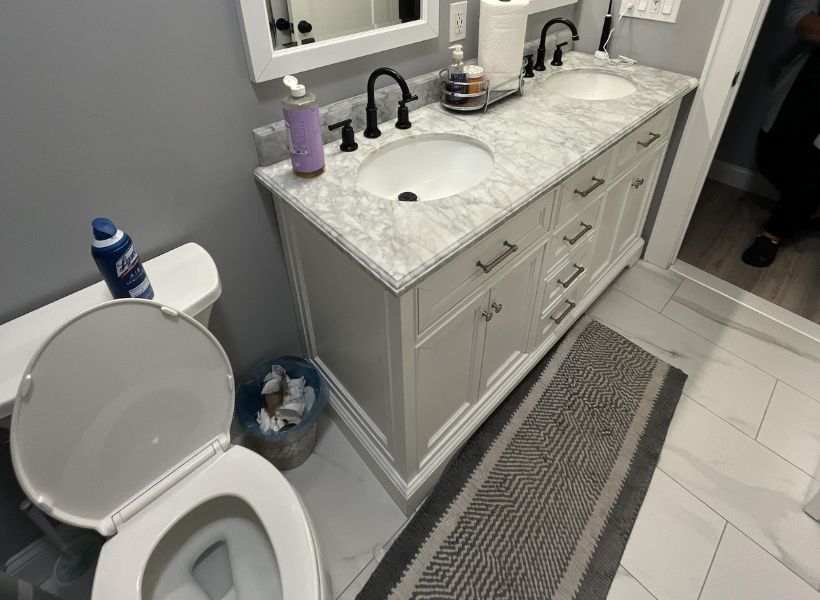
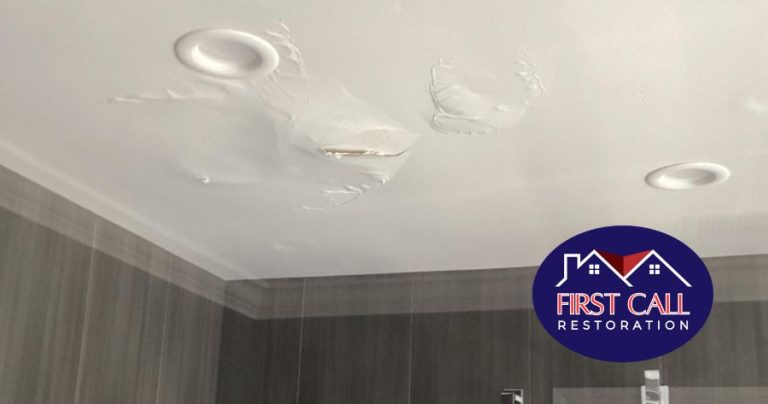
The homeowner experienced a toilet overflow that flooded the bathroom, causing water to seep through the flooring and into the basement below. This type of water damage is particularly hazardous because it can carry harmful bacteria and contaminants. The affected areas included the bathroom, basement, and garage. Flooring, drywall, and basement ceiling were all impacted.
Steps We Took To Tackle the Issue
When we arrived at the home in Pleasant Valley, NY, we knew it was necessary to take immediate action to prevent further damage from the toilet water flood. Here’s how we handled the restoration step by step:
Step 1: Containment in the Bathroom
The priority was to contain the affected area in the bathroom to prevent the spread of contaminants. We carefully covered the floors and set up containment barriers around the workspace.
Step 2: Removal of Damaged Materials in the Bathroom
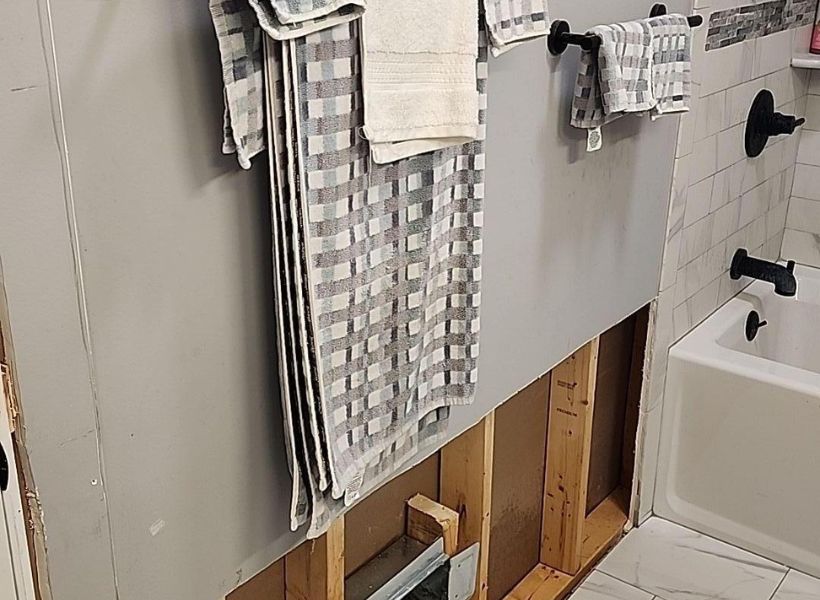
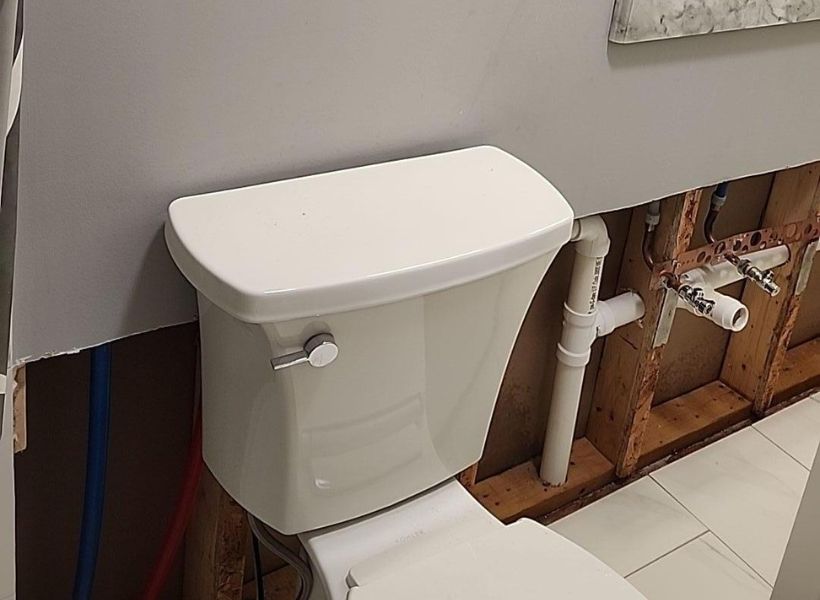
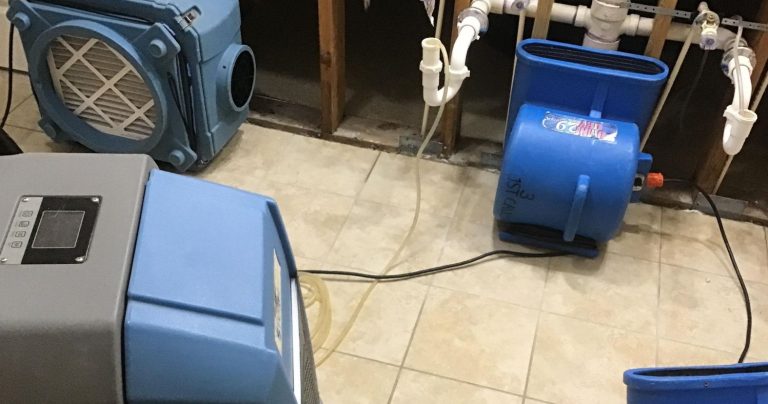
Next, we removed the bathroom vanity and performed a two-foot flood cut along the walls to eliminate the affected drywall. We also removed the trim as part of this process to ensure no moisture was trapped behind.
Step 3: Vacuuming and Antimicrobial Treatment in the Bathroom
With the damaged materials out, we thoroughly vacuumed the bathroom to remove any debris and then applied an antimicrobial spray to eliminate lingering bacteria or mold.
Step 4: Addressing Damage in the Basement
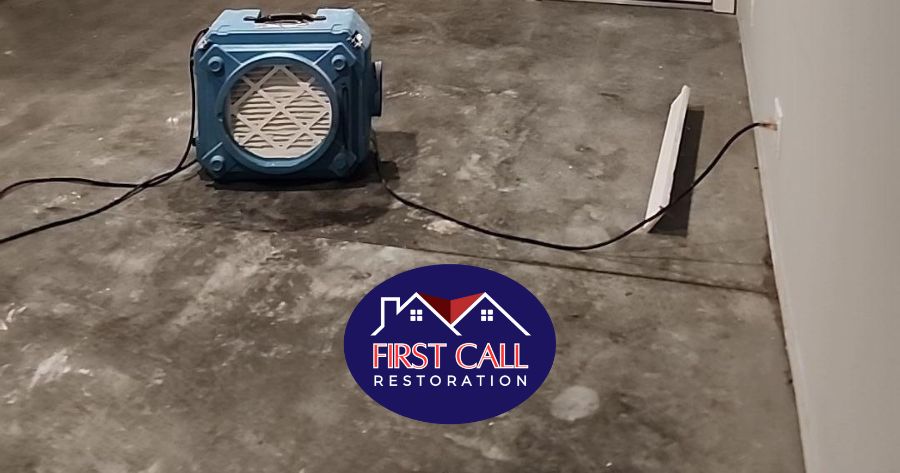
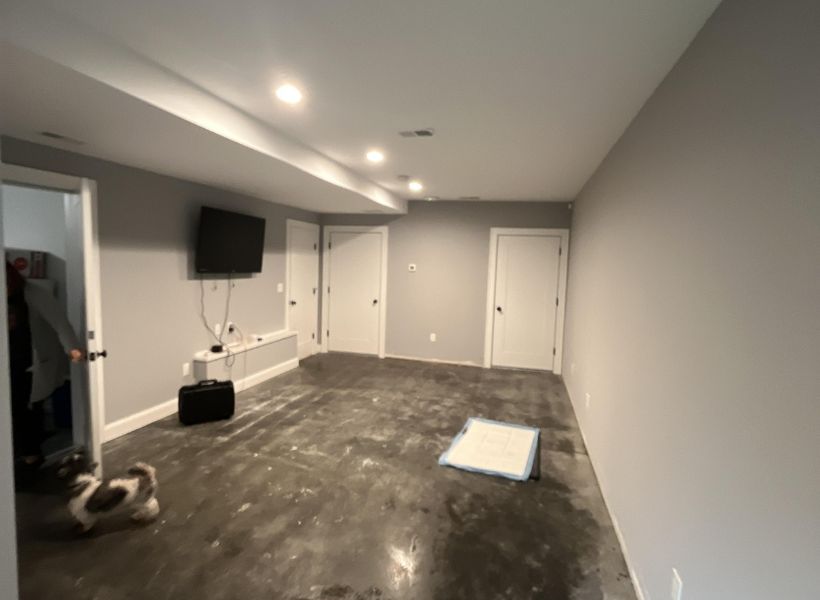
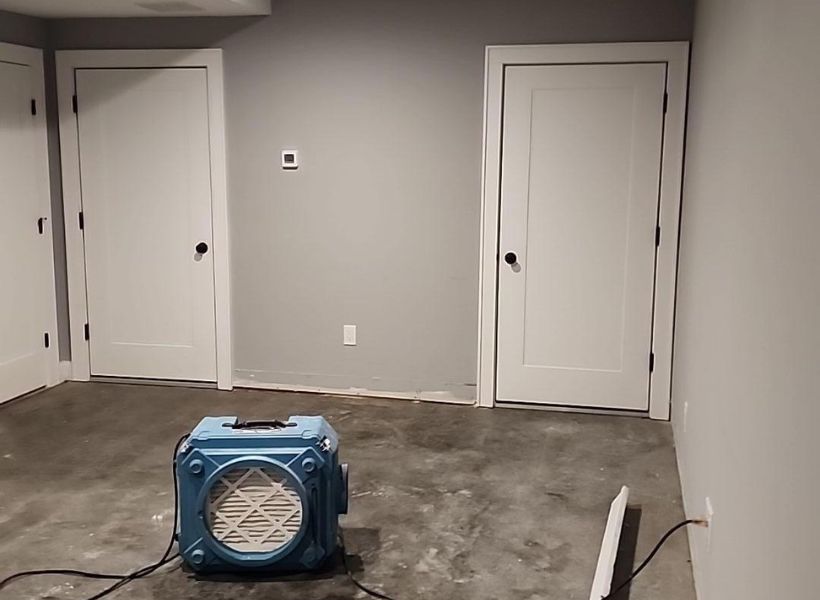
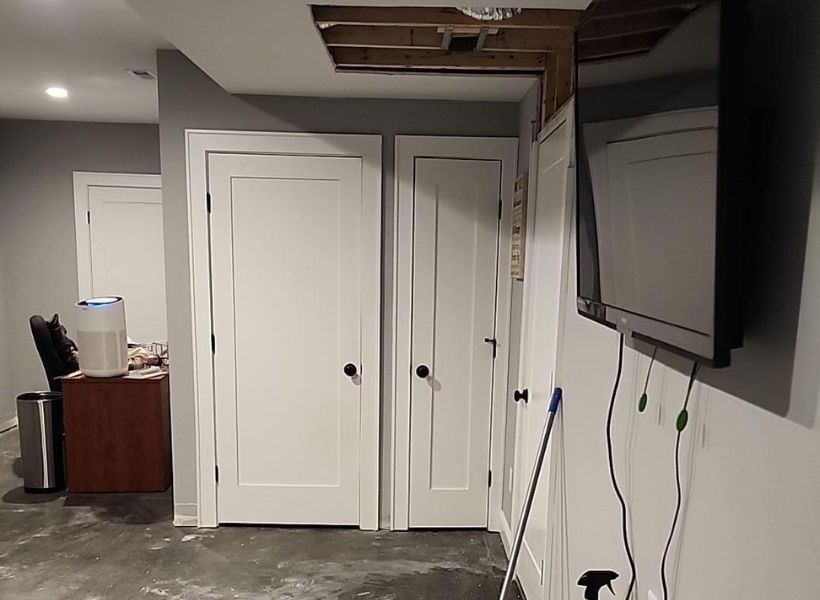
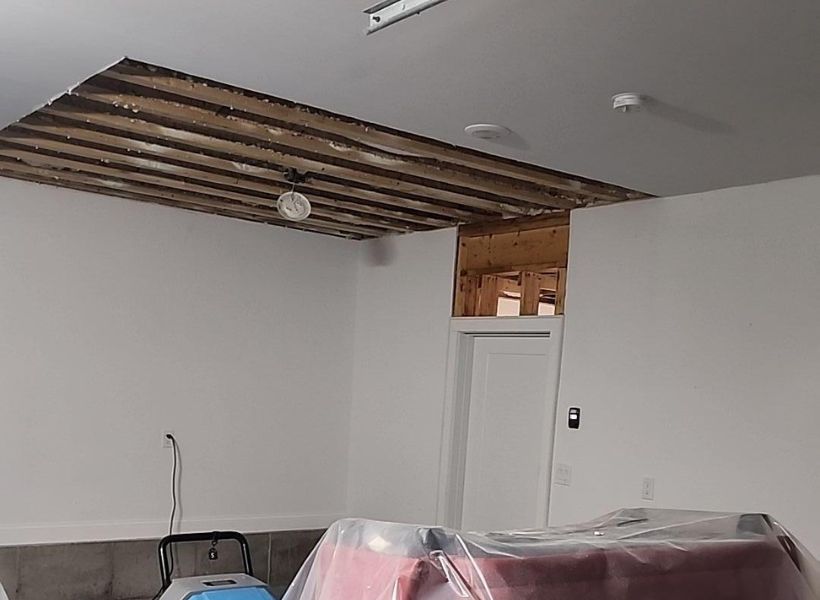
When we moved to the basement, it was clear that the toilet water flood had caused significant damage, extending to both the ceiling and walls. To ensure a complete and successful restoration, we carefully followed these steps:
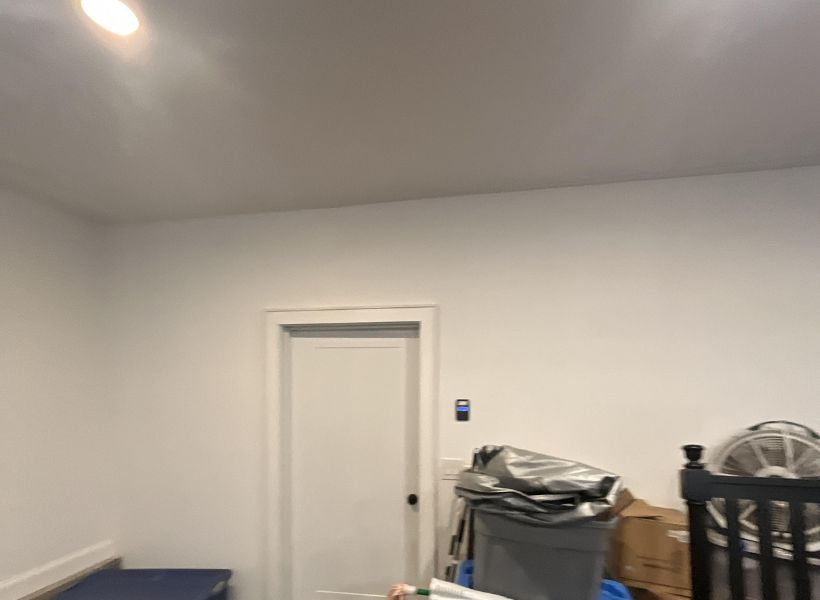
- Removing Damaged Ceiling Material: To tackle the ceiling damage, we removed a 3×4-foot section of sheetrock. This step was necessary to eliminate all affected materials and prevent any potential future issues.
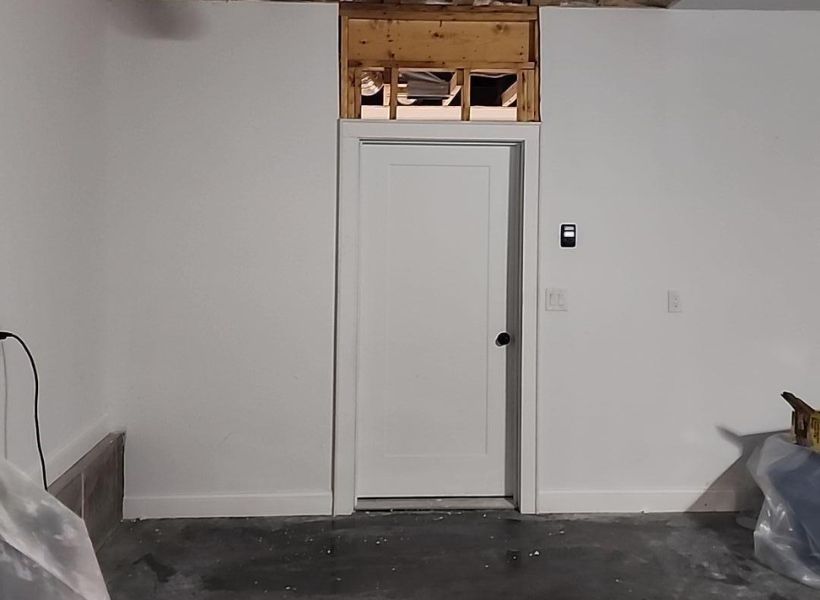
- Removing Wall Material Above the Garage Door: Next, we focused on the wall area above the garage door. We carefully cut and removed an 8-inch wide, 3-foot tall piece of sheetrock, ensuring that any hidden damage was fully tackled.
- Insulation Removal: Finally, we removed the insulation from both the ceiling and the wall. This was an important step to ensure that no moisture or contaminants were left behind, completing the thorough cleanup process in the basement.
Step 5: Vacuuming and Antimicrobial Treatment in the Basement
After removing the contaminated materials in the basement, we vacuumed the area and applied antimicrobial spray to treat any remaining surfaces.
Step 6: Cleanup in the Garage
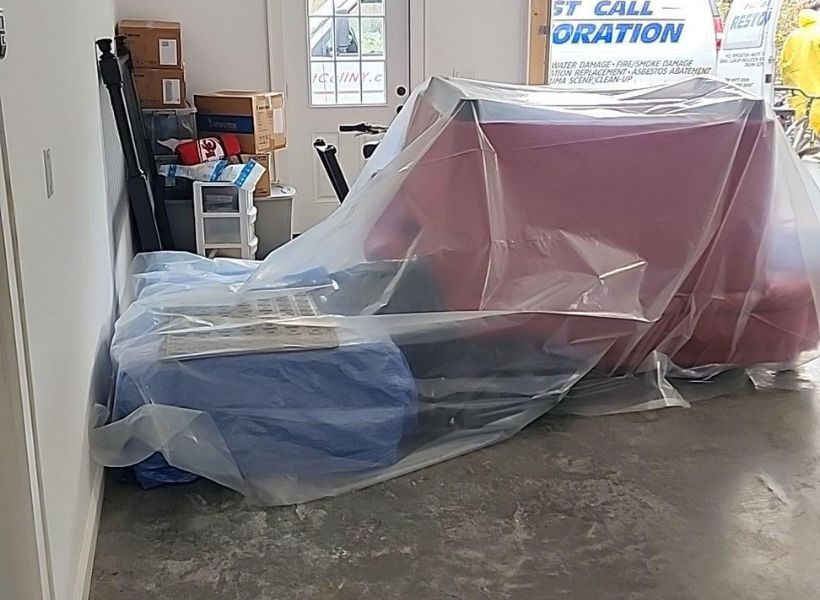
In the garage, we wiped down and moved items from the affected corner to clear the space. We then removed a 10×10-foot piece of sheetrock from the wall and a 3-foot wide, 2-foot tall section above the garage door. Finally, we removed the spray insulation, vacuumed it, and applied antimicrobial treatment to the affected areas.
Successful Toilet Water Flood Cleanup
By following these steps, we minimized the damage and prevented further issues from developing. The homeowner was relieved to have their home restored to a safe and healthy condition.
Ready to Restore Your Home? Contact First Call Restoration Today!
At First Call Restoration, we’re here to handle all your restoration needs with expertise and care. If you’ve experienced water damage or any other type of home disaster, don’t wait – contact us!
Call us at (845) 442-6714 or fill out an online form on our website.
